How To Pass the Hazard Perception Test
Want to know how to pass the hazard perception test?
This part of the exam is your gateway to lifelong safe driving. You might’ve heard horror stories from your friends, but with good preparation and confidence, you’ve got nothing to fear.
From prep tips to common pitfalls, here’s everything you need for the hazard perception test in one place.
Key takeaways
What is the hazard perception test?
The hazard perception test is the second part of the UK driving theory test. Once you’ve completed the initial multiple-choice questions, you’ll move on to this section.
In the test, you’ll be shown 14 video clips, each lasting around a minute. They’re filmed from the driver’s perspective and feature realistic road scenarios.
You need to click the mouse when you see a developing hazard. This would cause you to change speed or direction or take action.
There’s at least one hazard in each clip
One clip contains two developing hazards.
For example, one scenario could show a pedestrian standing on the pavement. Since they’re not moving towards the road, they’re not a developing hazard.
However, if they suddenly step off the pavement onto a pedestrian crossing, you’d need to slow down or stop, so they’ve become a developing hazard.
Depending on how quickly you react, you can score up to five points for each hazard. The pass mark is 44 out of 75.
Common hazard perception test mistakes
If you want to know how to pass the hazard perception test, it’s best to learn what to do and what not to do.
Here are a few common mistakes that hold pupils back from the pass mark:
Spam clicking
Think you can get away with clicking everywhere to trigger the hazard? Think again.
If you spam-click the mouse, the system may flag you for cheating and give you zero points.
It’s OK to click a couple of times if you’re unsure, but keep it natural and avoid clicking in a pattern, as this can also result in no points.
Clicking too late
The test aims to see how quickly you can identify potential hazards.
You won't get the points if you don’t spot the hazard early enough. Remember, part of the score comes from how quickly you notice the developing hazard.
If you wait until a car has already pulled out or a pedestrian is directly in front of you, it’s too late. Click before anyone is in danger.
Not understanding the test
Don’t just guess! Make sure you thoroughly understand the test format before you arrive.
Alongside blogs like this one, watch videos of real test clips and use official DVSA materials so you know exactly what to expect.
Part of learning to drive is understanding the reality of owning a vehicle, including all of the potential negative impacts that come with it (e.g., hazards and surprise repairs). Luckily, car repair finance can help with the cost of maintaining your vehicle.
Helpful tips for the hazard perception test
Be ready! Here are a few tips to help you prepare for the hazard perception test:
1. Take practice tests
Know before you go. The DVSA offers practice hazard test clips online and through their app.
Get familiar with these to know what the scoring system looks for and how to react when it starts. This can give you a boost of confidence and leave you more relaxed on the test day.
2. Get used to scanning
Proper hazard perception is all about observation.
Instead of staring at the centre of the screen, waiting for a hazard, scan left to right and check for movement near pavements, parked cars, side roads, and junctions.
Start practising this technique in real life, too!
3. Look for road signs
Road signs in hazard perception clips don’t always signal a hazard but can offer useful clues.
For example, a junction or roundabout sign may indicate that an oncoming vehicle might be a hazard. Likewise, pedestrians will be around a zebra crossing.
4. Improve your reaction time
Using apps and games to sharpen your reaction time can be a fun and effective way to boost your confidence for the test.
You don’t have to do this, but many find it eases their anxiety about clicking in time.
5. Remember the two hazards
It’s easy to get caught up looking for single hazards.
But keep your eyes peeled! One special clip includes two developing hazards, allowing you to score up to 10 points instead of 5.
Hazard perception test practice examples
The test calls for you to notice developing hazards in good time. But what does this actually look like? Let’s look at a few examples:
A car pulls out in front of you — As soon as you see a car indicating or moving, it’s time to click the screen.
A pedestrian walks into the road — Whether a child or someone looking at their phone, keep observing the pavement and click if they step out.
A bus pulls into a stop — A stopped bus can block your lane or result in pedestrians crossing. Click if it signals or slows down.
A cyclist swerves — You always need to be aware of cyclists. Whether they’re avoiding a pothole or just swerving, sudden movement should result in a click.

How to prepare for the hazard perception test
Preparing for the hazard perception test shouldn’t take hours out of your day. You can practice for short periods every day and arrive with confidence.
The official DVSA app or other trusted driving test resources are extremely accessible and easy to use when you have a few spare minutes, such as on your commute or while relaxing at home.
If you’re already taking driving lessons, you can ask your instructor to quiz you on hazards as you drive. After all, real-life experience is the best way to prepare.
Last words
Getting to grips with the hazard perception test might initially feel overwhelming, but with practice, your knowledge and confidence will grow.
Keep scanning the screen and watch closely for developing hazards as early as possible. Once you know what to look for, it becomes much easier. Good luck!
Split the cost with Bumper
Once you’ve passed your test, it’s time to take on the real world of driving, which unfortunately can mean last-minute car repairs.
If you're facing unexpected repair costs, consider a car repair loan with Bumper.

Split your car repair cost over monthly repayments interest-free.
Split the cost of your next repair
Other related articles from our blog
Advice
5 min read
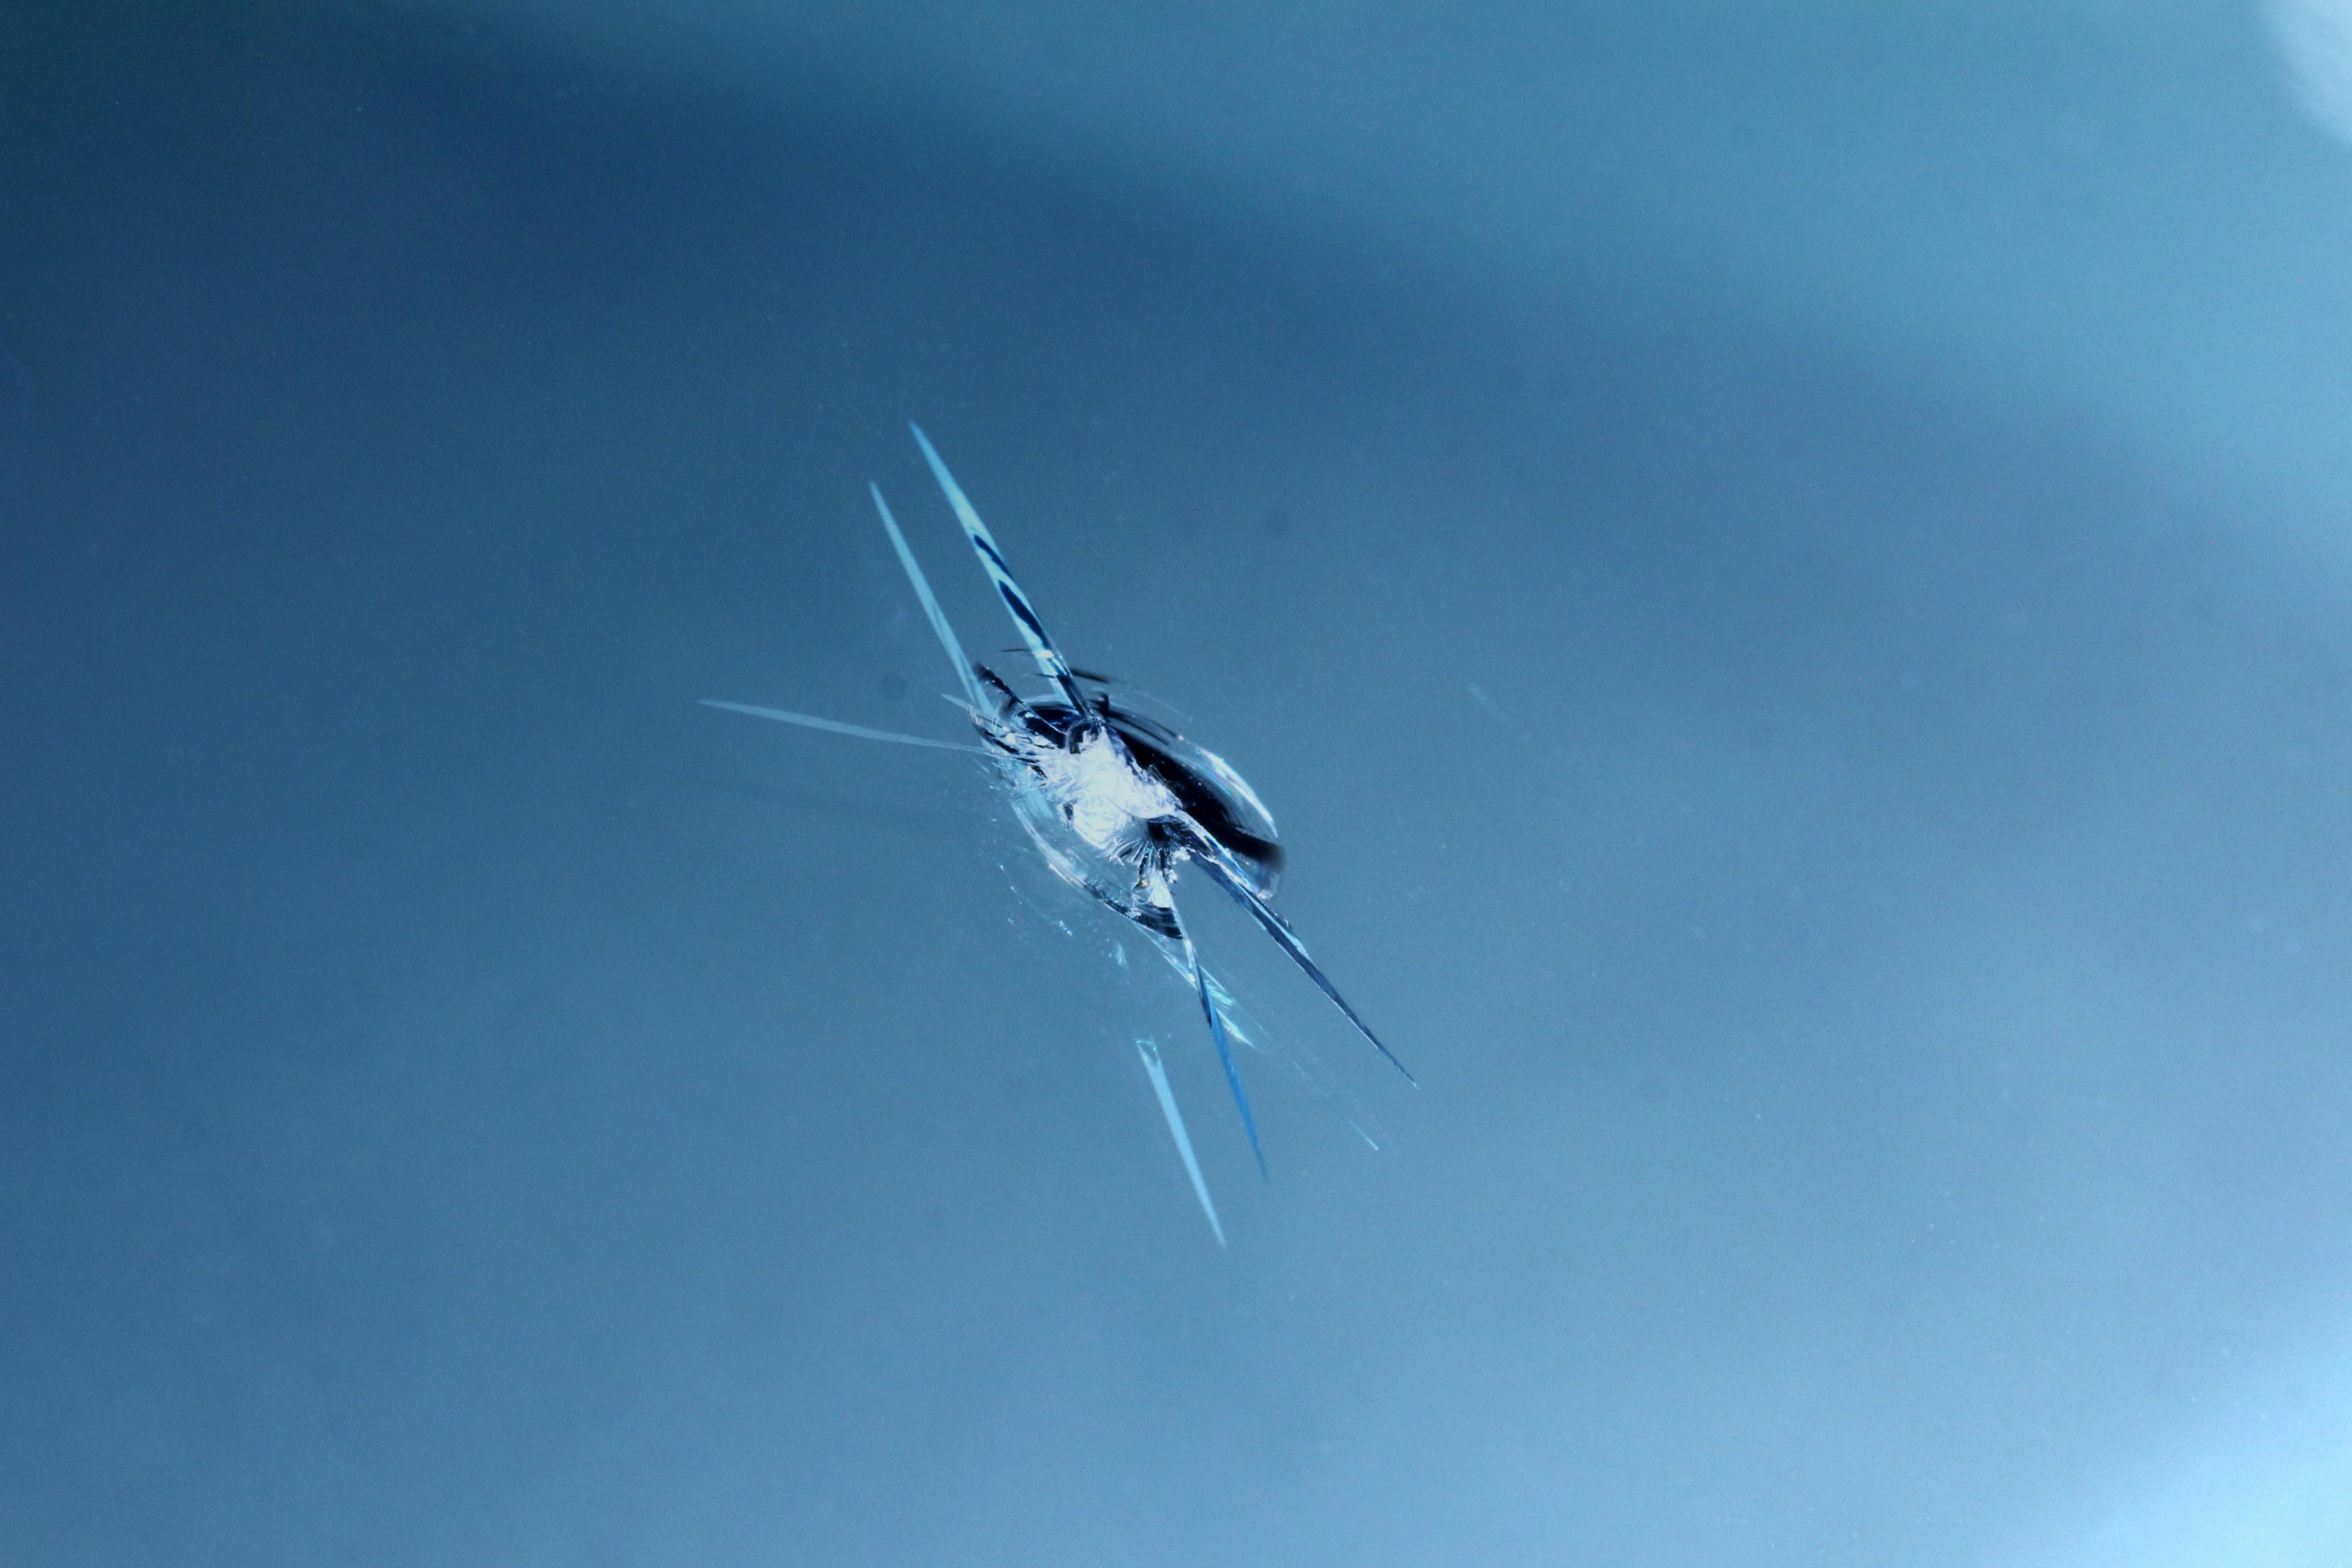
How Much Does a Windscreen Replacement Cost? (2026)
Windscreen replacement costs sit between £150 to £400 depending on the damage and car type. Find out about replacements, repairs, and ADAS windows now.

Advice
5 min read
Full Car Service Cost Guide: £180 to £300 (2026)
A full car service costs between £180 and £300 in 2026. See a list of car service prices and see signs you’re due a vehicle service online now.
Advice
5 min read
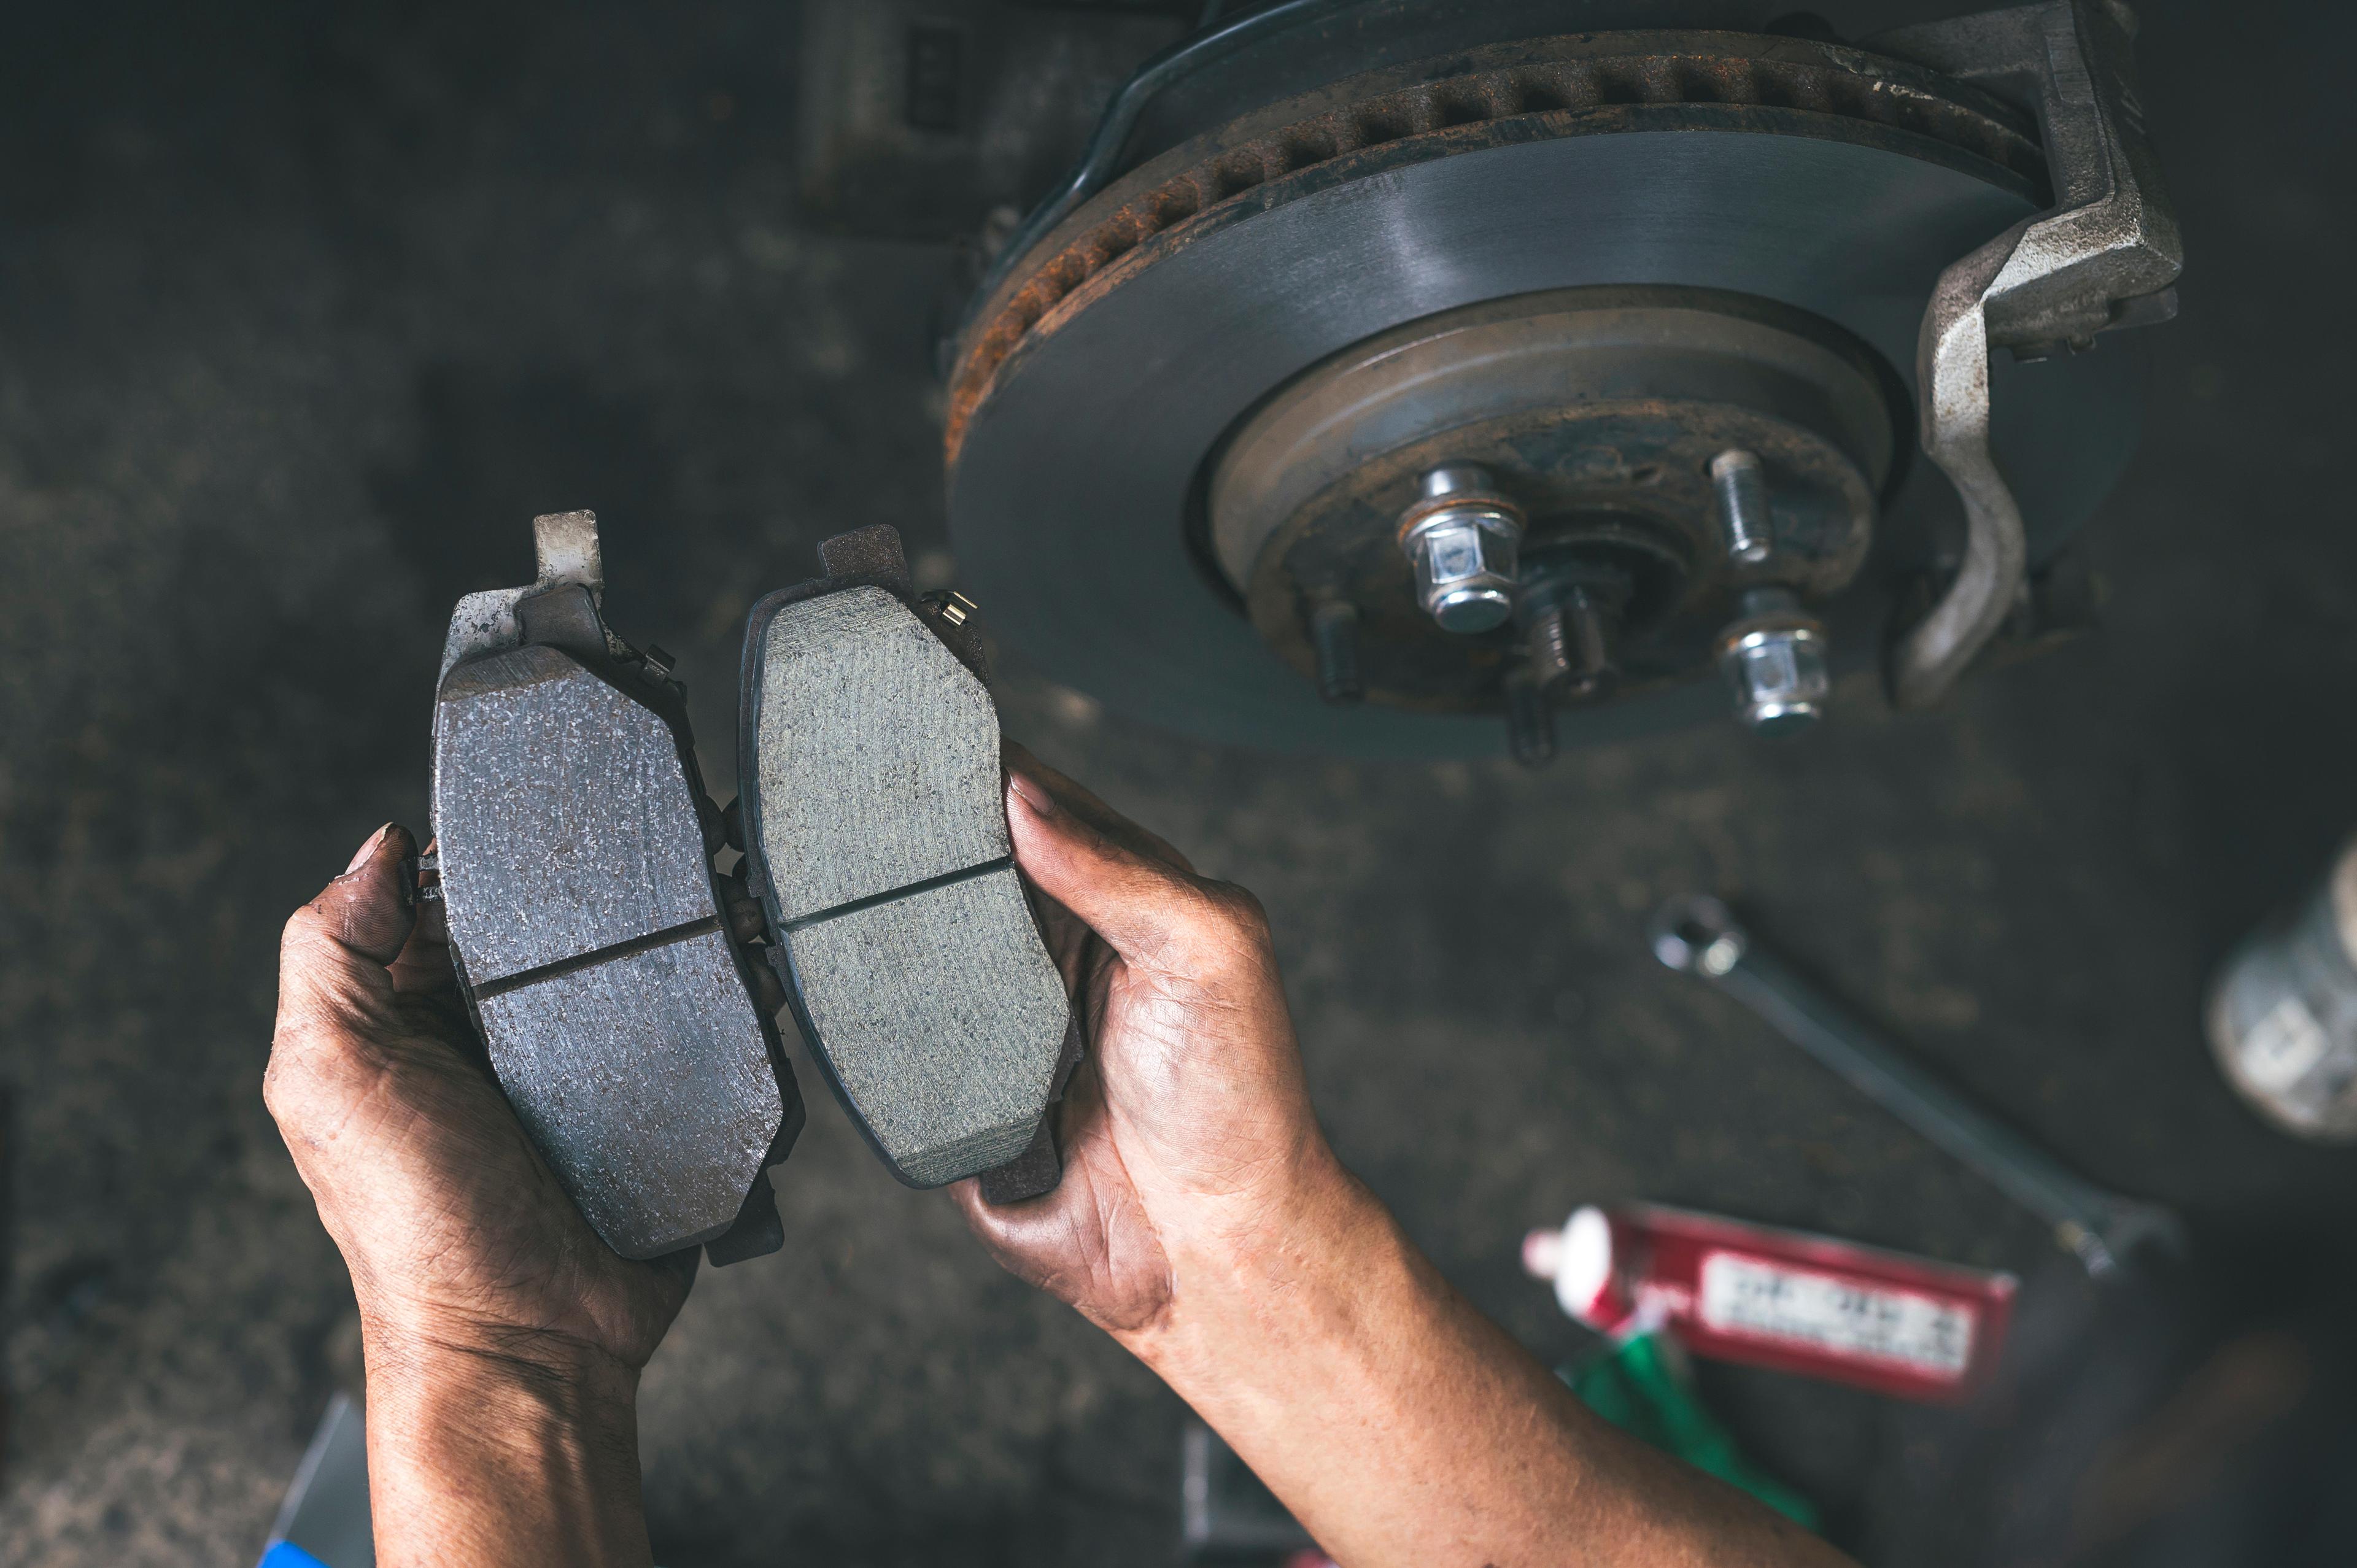
How Much Do Brake Pad Replacements Cost? (2026)
Brake pad replacement costs sit between £120 and £300 for most UK drivers. See a list of brake pad replacement costs online today with Bumper.

